
*View accurate shipping rates and availability






246 Items



Up to 70% off across the store, plus free towels and mirrors up for grabs on orders over $800*


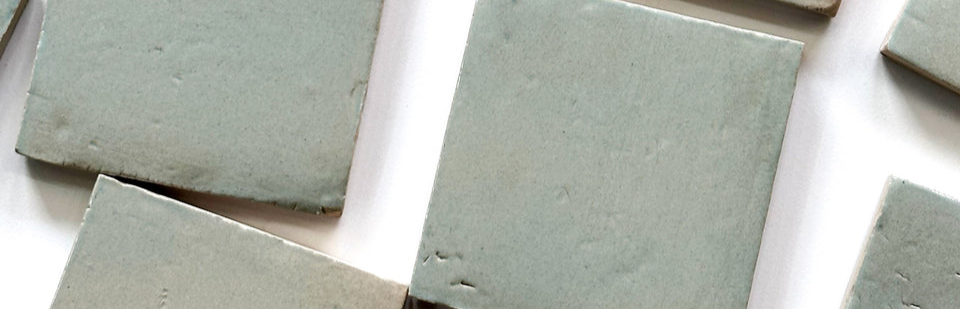


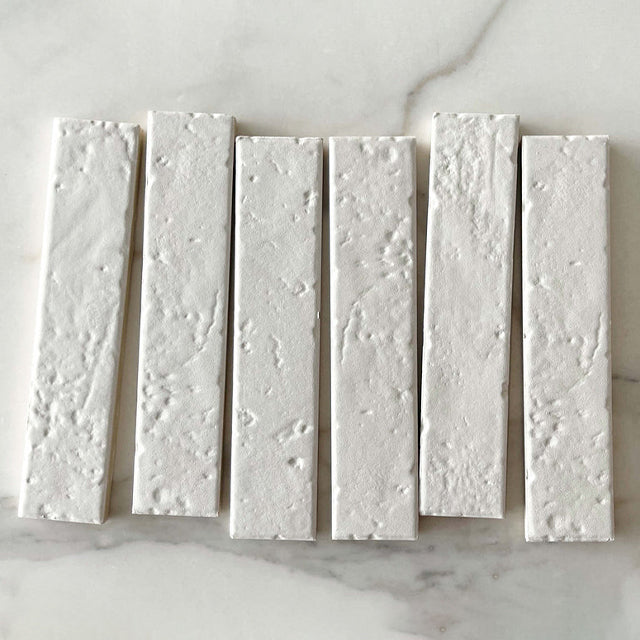
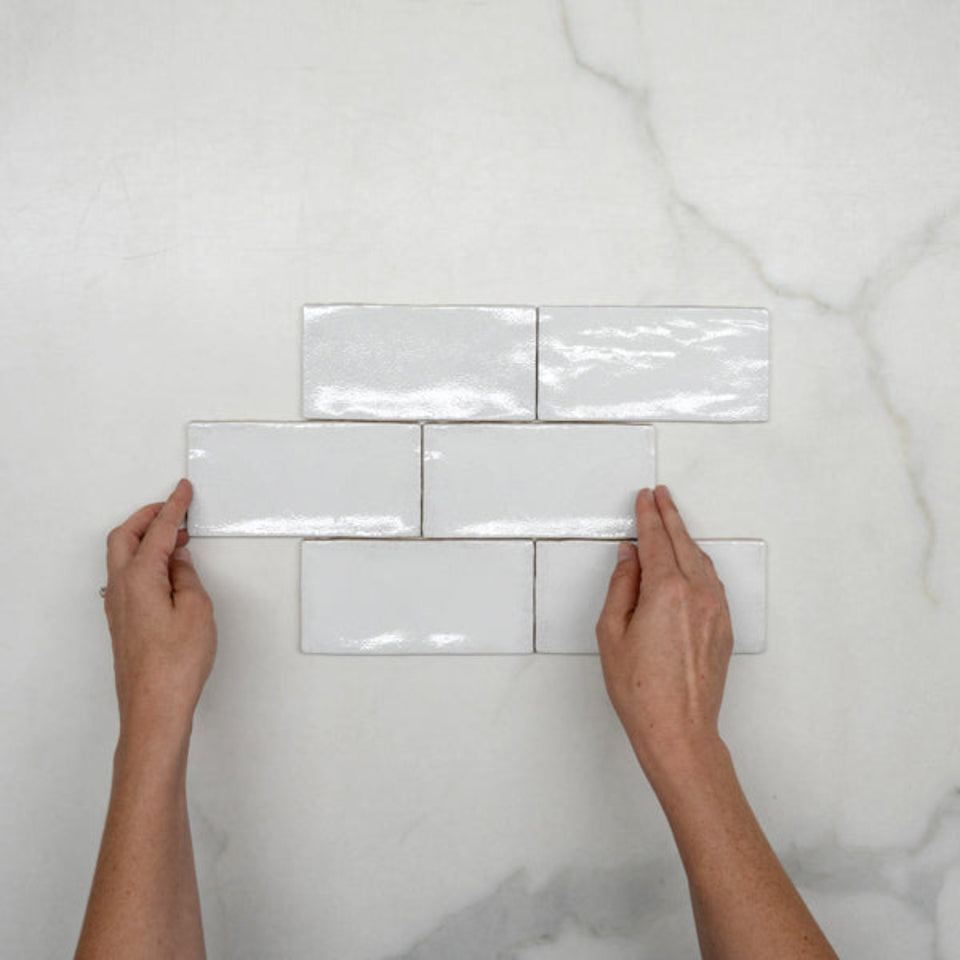
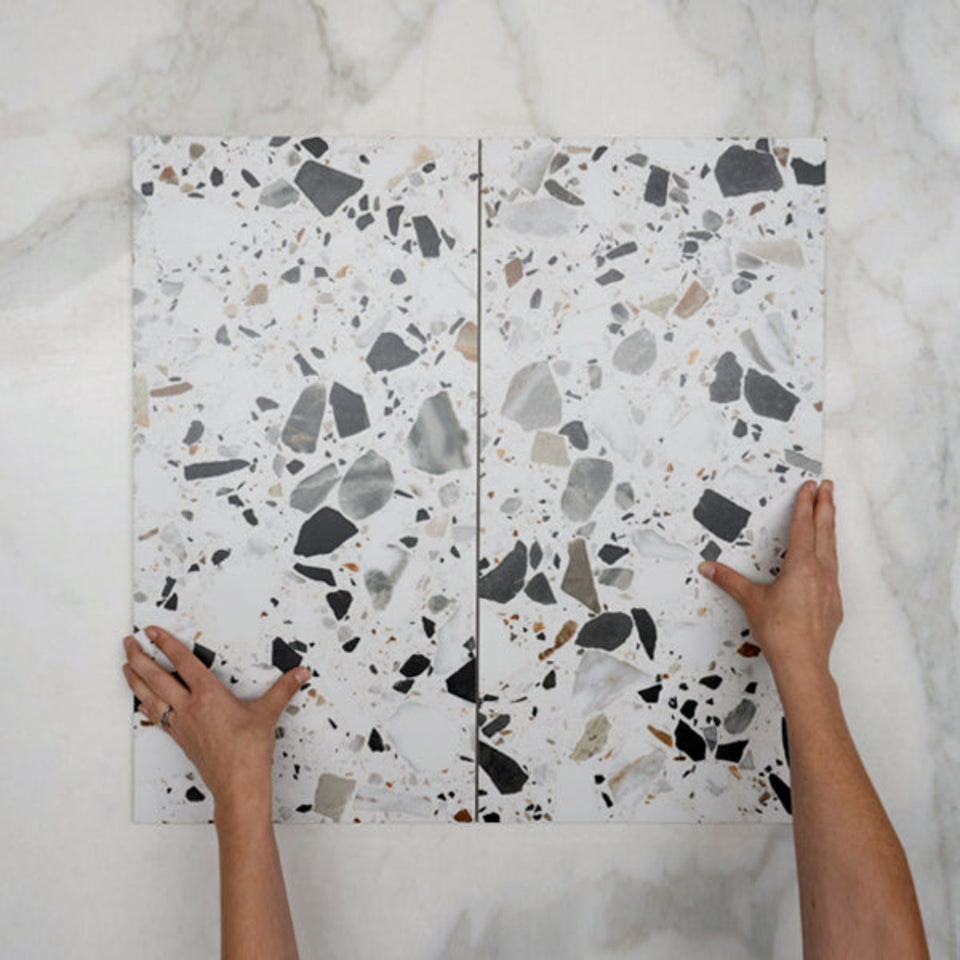


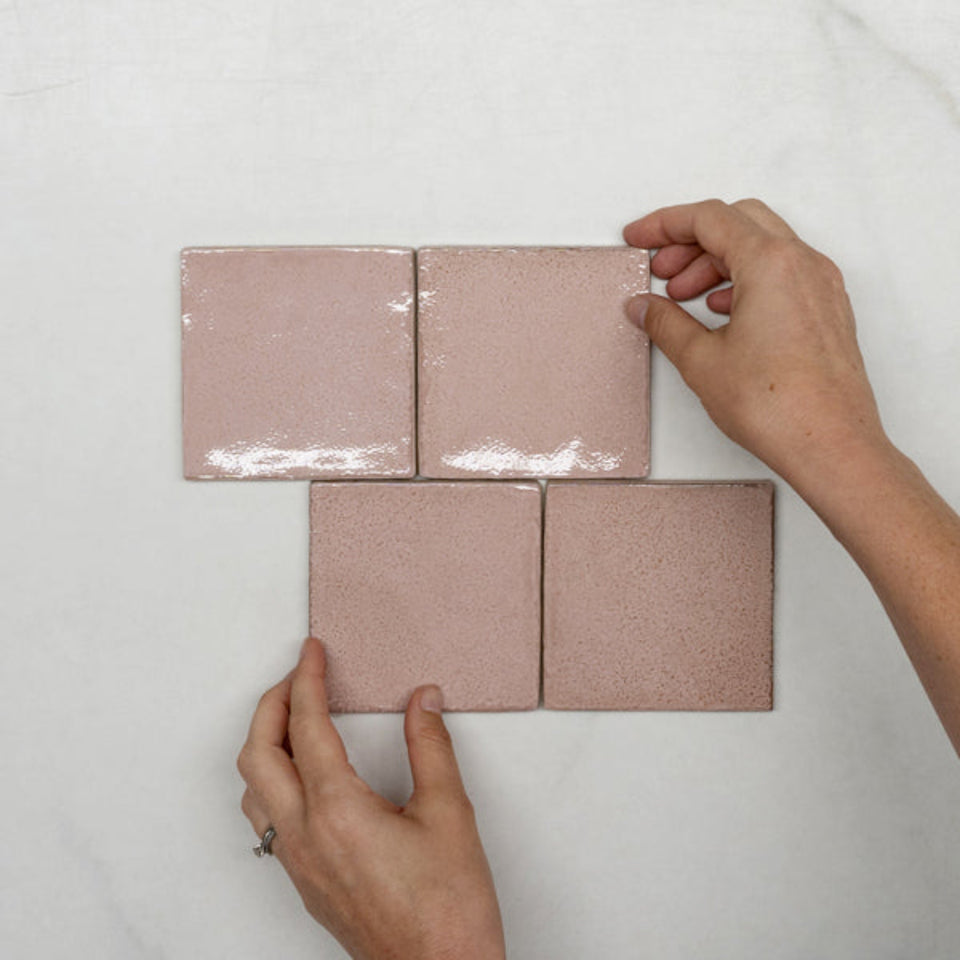
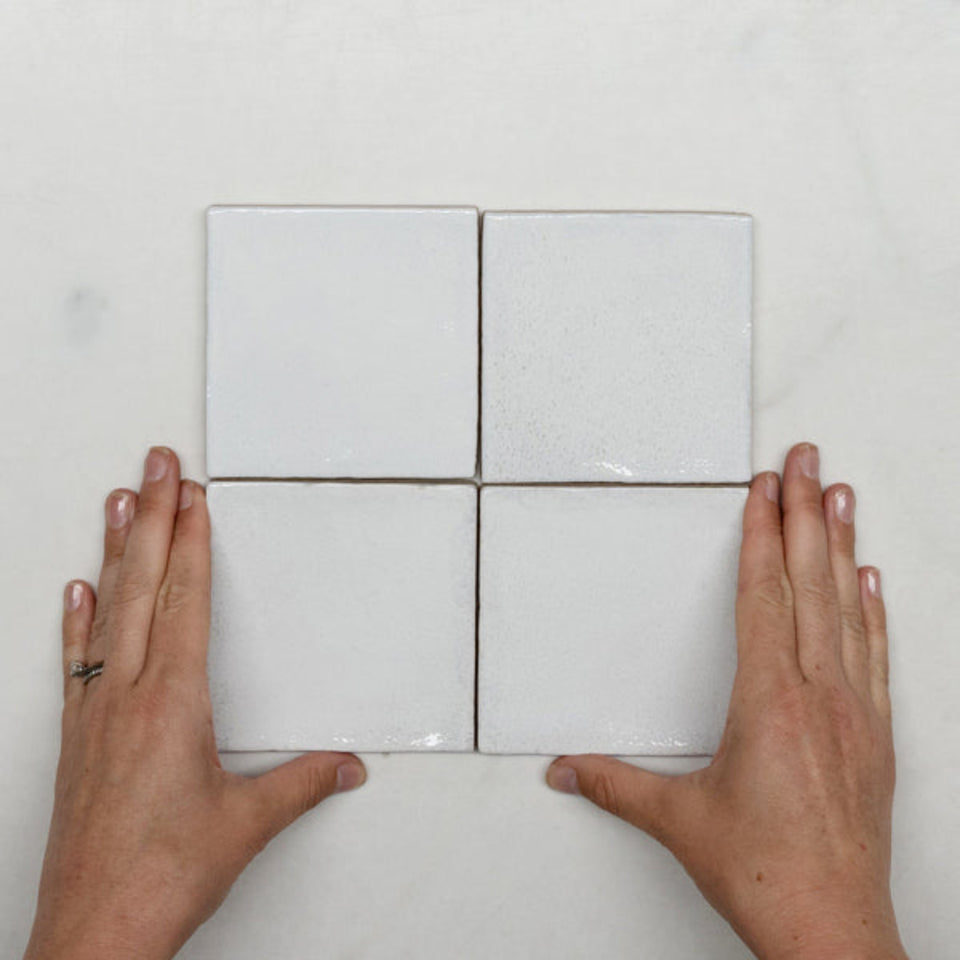

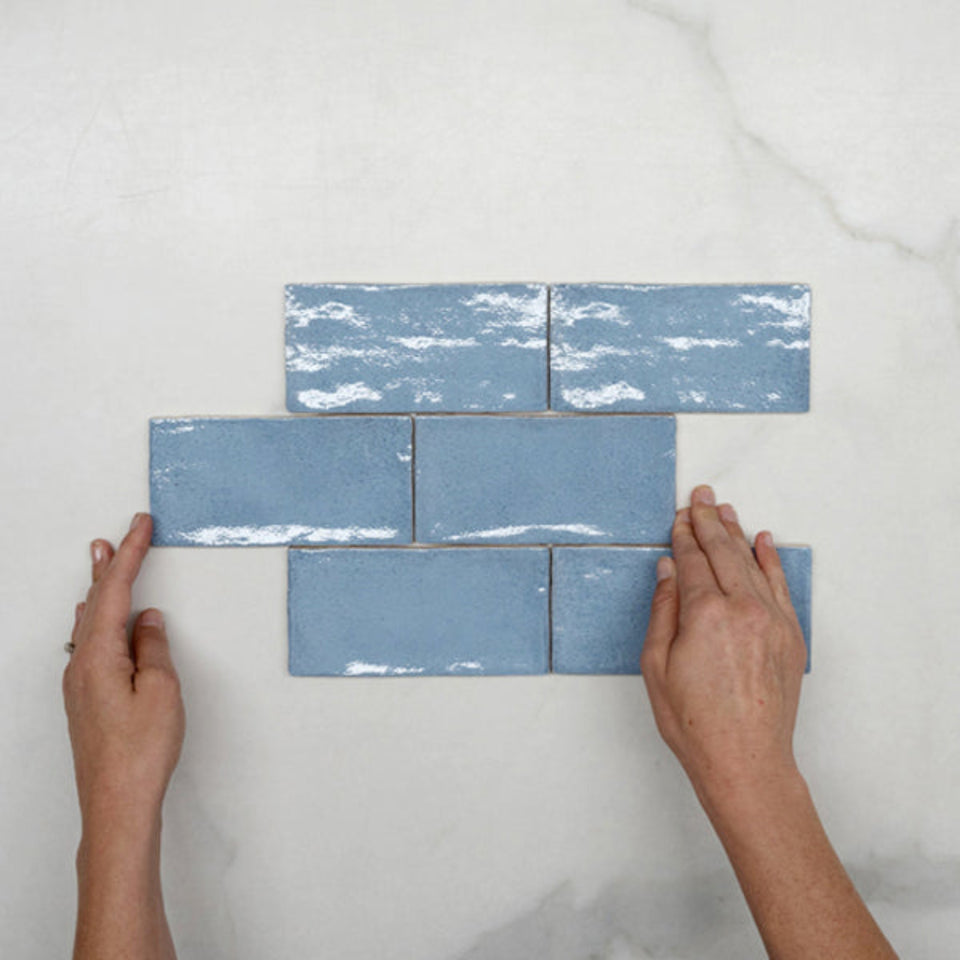
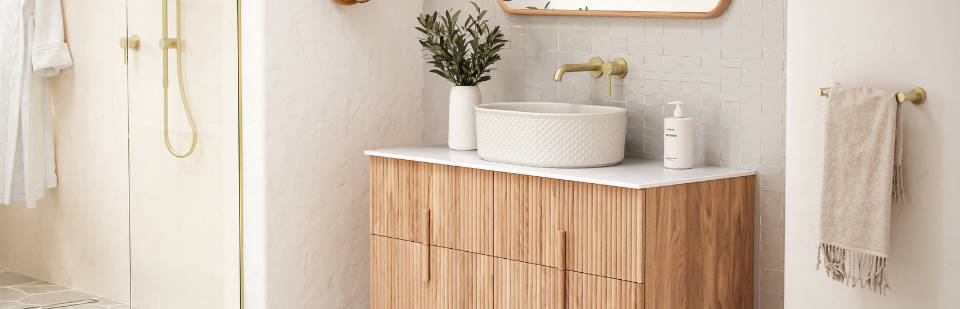


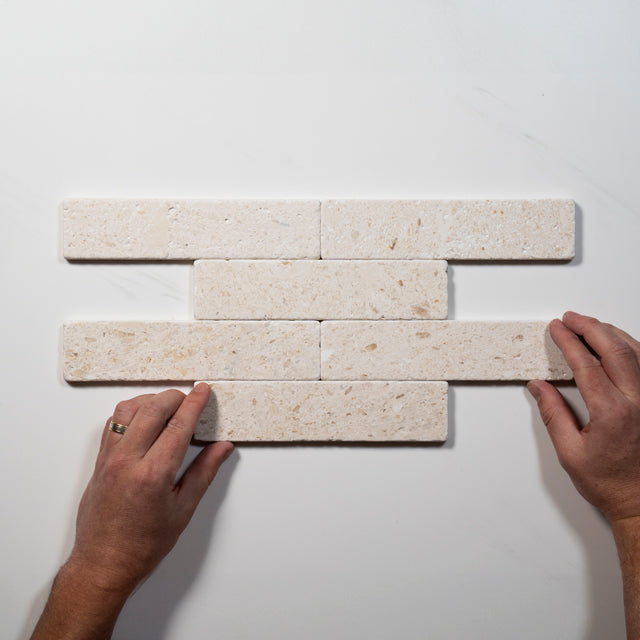
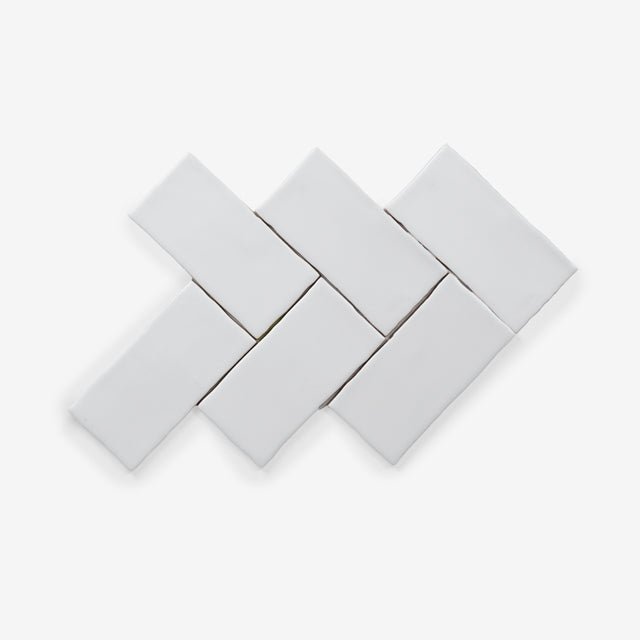
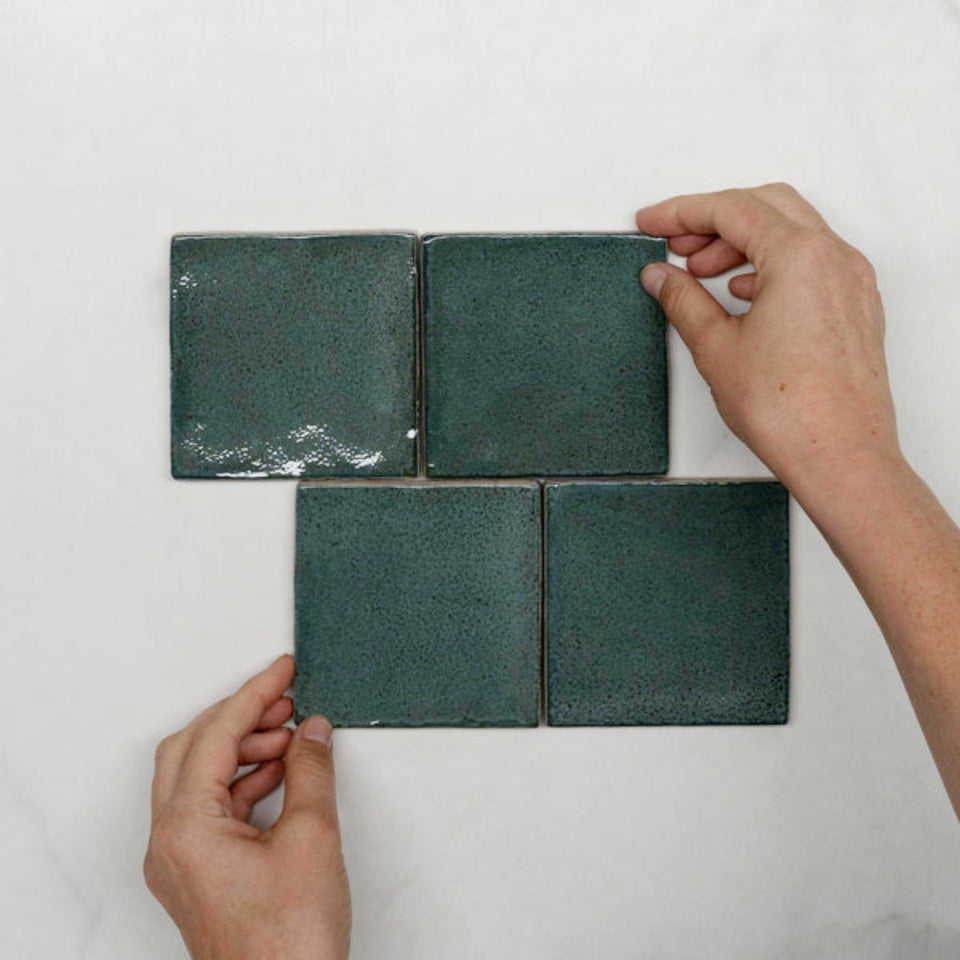
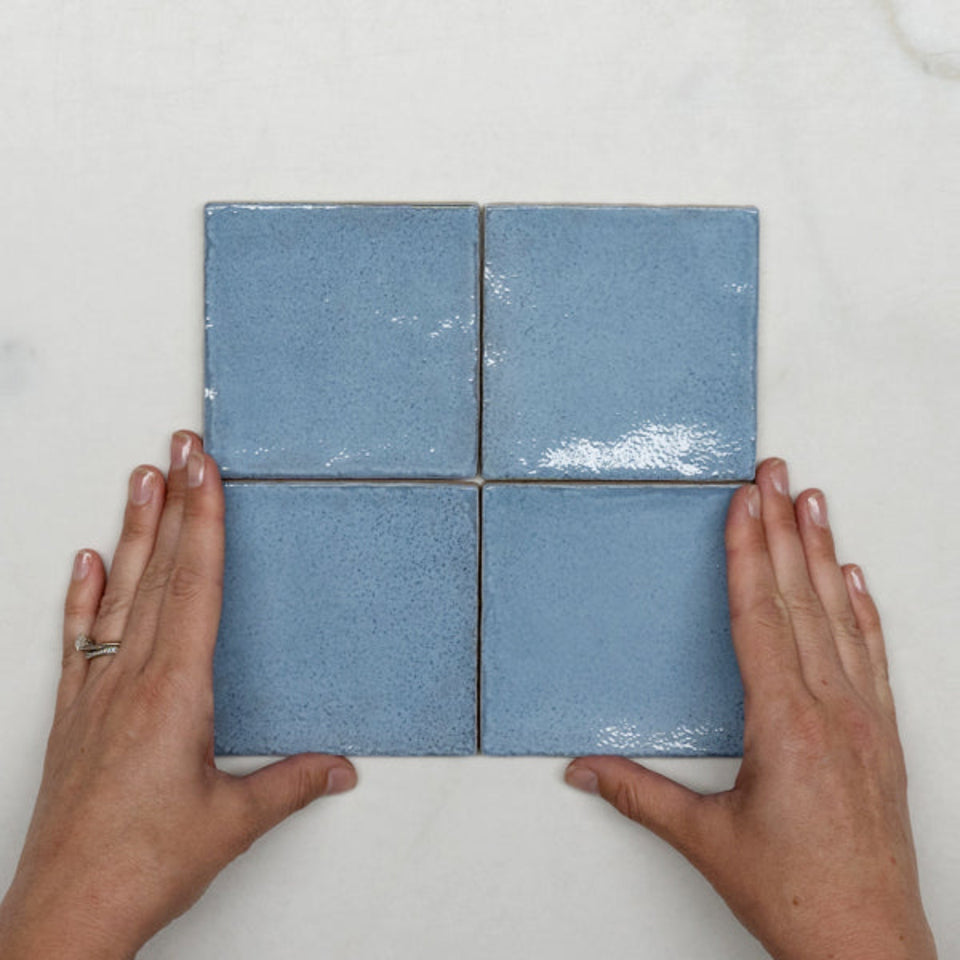


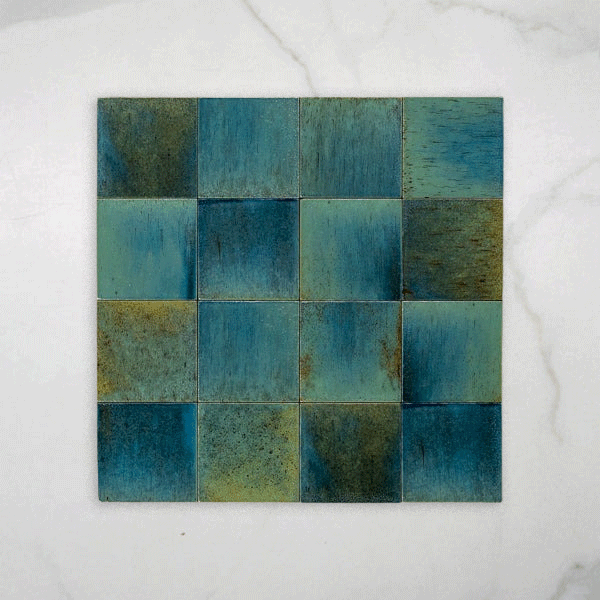

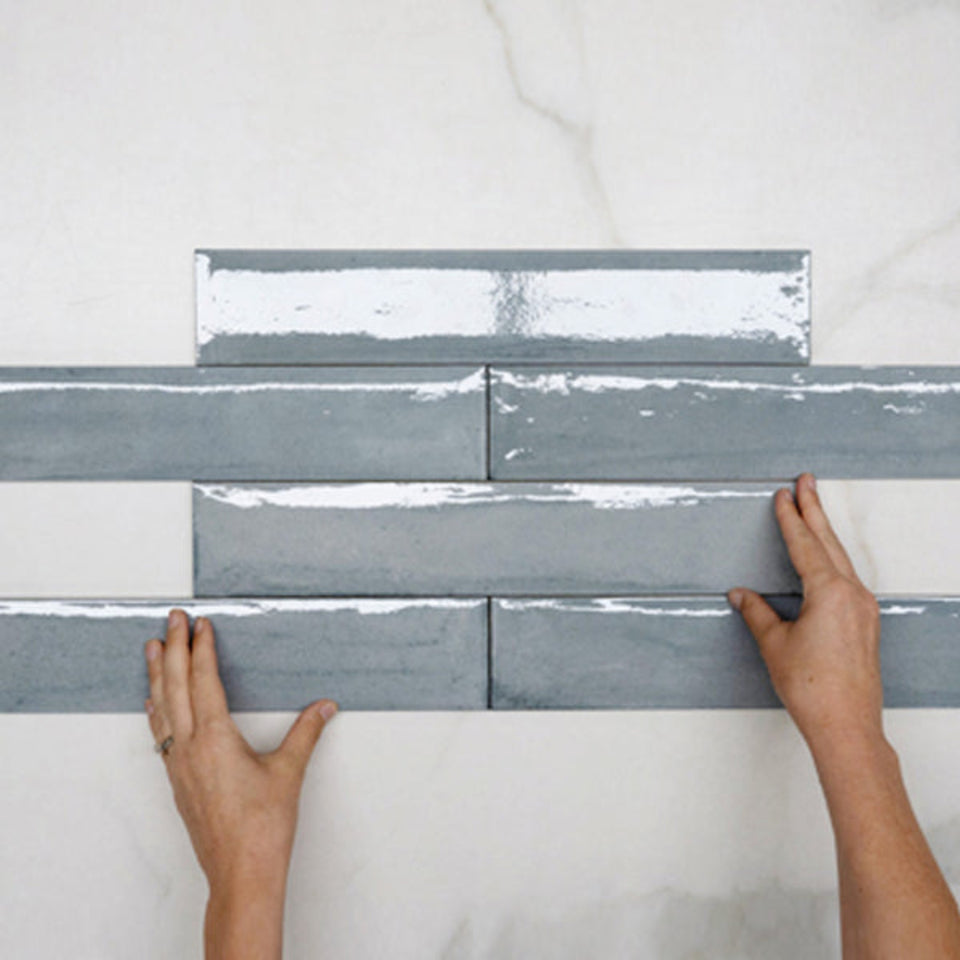
Stack bond is a laying pattern. Each tile sits directly above the one below, so the joints form a straight grid in both directions. This collection holds the tiles in the store that carry the vertical stack layout tag. They range from 65 x 265mm subway tiles and 100 x 100mm squares to 300 x 600mm, 450 x 450mm, 600 x 600mm and 600 x 1200mm porcelain, in matte, polished, grip and gloss finishes.
The sections below explain stack bond and how it differs from brick bond, what vertical and horizontal stacking do to a wall, which tiles in the collection are for walls and which for floors, and how to grout and order it. For tiles that sell as stacked stone cladding, a different product made of narrow stone strips, this is not the collection. For the same tiles in other layouts, see the subway tiles collection, the brick bond tiles collection and the herringbone tiles collection.
A stacked pattern is a contemporary approach where tiles are aligned in straight, clean lines both vertically and horizontally. The pattern emphasises simplicity and symmetry, and suits minimalist spaces and neutral tones such as white or grey. The vertical version is tiles stacked directly on top of one another in a perfectly aligned vertical grid, and it creates strong vertical lines.
That answers the common question of what a stacked tile pattern is. It is not a tile type. It is the way any rectangular or square tile is set, and every tile in this collection can be laid in a stack. The same tiles often carry brick bond and herringbone tags as well, so the choice of layout stays open until you decide.
The difference is the joint. In a staggered layout, also called offset or brick bond, each tile's edge falls at the centre of the tile above or below, so the joints do not line up. This is the traditional pattern with a Victorian heritage, and the offset hides imperfections in the tiling and in walls that are not perfectly straight.
A stack does the opposite. Stacked tiles need fewer cuts than a staggered layout, so installation is simpler, and the grid accentuates the grout lines. Stack is modern and sleek, with symmetry and clean lines, and staggered is traditional, with texture and movement. Those are descriptions of style and not rules, but they match what each layout does to a wall. For the offset version, see the brick bond tiles collection.
Neither is better. The choice depends on what the wall needs. Stack suits contemporary and industrial rooms, often with large format tiles, while stagger suits traditional and transitional rooms and pairs with herringbone or mosaic accents. Stack makes a calmer, more uniform look, and stagger creates movement and depth.
The practical points are on the tile. A stack shows alignment errors more readily, because the grid makes every drift visible. The same is true of straight laid subway tiles: the format is simple, but straight rows make poor alignment and uneven joints easy to notice. A stagger forgives more, which is why many tilers prefer it on a wall that is not square. If your walls are out of true, say so to your tiler before choosing.
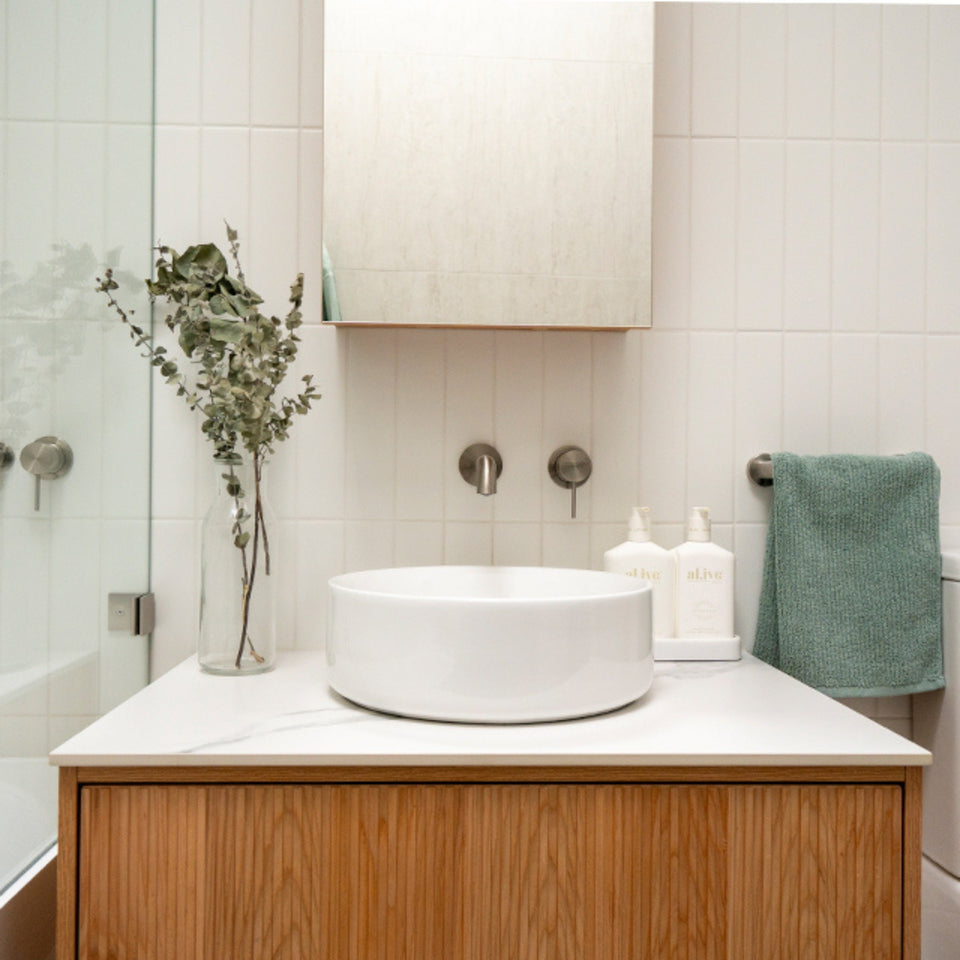
Direction changes how the wall reads. A vertical stack can make walls appear taller and a horizontal stack adds width. A vertical stack bond is a good choice for low-ceiling rooms, narrow spaces and contemporary bathrooms and kitchens, and a horizontal stack suits wide, open spaces and Scandinavian-inspired designs. Installing tiles vertically is a great way to make smaller rooms appear taller, and it balances bold 3D or highly textured tiles.
In a shower, a vertical stack of a rectangular tile lifts the eye to the ceiling. On a splashback, a horizontal stack runs the width of the wall. A long tile such as a 300 x 600mm porcelain can be stacked either way. A narrow subway tile such as the 65 x 265mm Bella is the usual choice for a vertical stack on a feature wall.
The collection is large, because the layout tag sits on tiles from many ranges. The ranges named here show the spread. The spec block carries the details.
The small tiles are wall tiles. Bella is a 65 x 265mm mini subway in matte and gloss, rectified, with a P2 slip rating, Application Walls and a recommended gap of 1.5 to 3mm. The Ella and Dianna zellige look squares are 100 x 100mm ceramic with a wavy gloss glaze, and Ella has a wear line of 0, not recommended for floors. The Ava is a satin white finger mosaic sheet, made for walls, low traffic floors and pool mosaics.
The squares and larger tiles include floor tiles. The Clio terrazzo is a 600 x 600mm matte porcelain with Tech Grip, a P4 slip rating and Application Walls and Floors. The Tilly stone look is a P5 matte tile with a wear rating of 5, suitable for high traffic and commercial areas. Alicante, Airlie and Tamarama are patterned tiles, and Southside, Avalon and Casuarina are stone and terrazzo looks. Each is covered on its own collection page, including the patterned tiles collection.
Most of the tiles carry Walls and Floors, and a large group carries Walls or Wall Tile. The wear lines run from 0, not recommended for floors, and Wall Category 0 on the wall tiles, to 3 and 4 on the floor-rated porcelain, and 5 on the Tilly. Read the Application and Wear Rating lines for the tile you choose.
AS 4586 classifies the slip resistance of new pedestrian surface materials, and its wet pendulum test uses ratings from P0 to P5. The rating applies to floors people walk on and does not matter for a feature wall. In this collection the common ratings are P2 on wall tiles and P4 and P5 on the grip floor tiles, with some tiles printing no rating. Confirm with your builder or tiler what the room needs. The floor tiles collection and the wall tiles collection sort tiles by use.
A stack suits several places. Shower walls, where a vertical stack elongates the height of the shower and gives a sleek, modern look. Feature walls, where a stacked feature wall adds a contemporary focal point to a living room or bedroom, particularly in large format tiles in neutral tones. Kitchen backsplashes, where horizontal stacked subway tiles give a clean, minimalist design that works with gloss and matte. Bathroom floors, and fireplace surrounds in natural stone or textured ceramic.
Each of those has a tile in this collection. A matte 300 x 600mm porcelain suits a feature wall. A 65 x 265mm Bella suits a kitchen splashback or a shower. A P4 or P5 grip tile in 600 x 600mm suits a floor, subject to the slip check. For rooms, see the bathroom tiles collection and the kitchen tiles collection.
In a stack the grout is the pattern. Contrasting grout strengthens the grid like appearance and emphasises the geometric precision, such as black grout with white tiles, while matching grout creates a continuous, monolithic look. A contrast makes even basic tiles stand out.
The joint widths are set by the edge. Most of the rectified tiles need a gap of 1.5 to 3mm, and a few of the handmade look tiles need over 3mm. The cushioned edge tiles are non-rectified and need a wider joint, usually 3 to 5mm. A stack makes the joint width very visible, because it runs straight across the wall, so agree the width with your tiler before ordering.
The collection runs from matte and grip to polished and gloss. Gloss reflects light and keeps a surface bright but shows water spots and fingerprints more readily, while matte reads calmer. In a stack, the finish changes the effect: gloss in straight rows catches light along every joint, and matte keeps the grid quiet.
The Appearance lines run from V1, uniform, to V4, substantial variation. In a stack, variation shows in columns, because tiles sit directly above one another. Tiles with high variation, V3 or V4, should be dry laid to blend the shades, so mix tiles from several boxes before fixing.
Order an extra 15 percent over the exact quantity, to cover breaks and offcuts, because colour, size and texture can vary from batch to batch. A stack needs fewer cuts than an offset layout, so the lower end of the allowance can be enough on a plain wall, and a floor with many cuts or a diagonal layout needs more. Ask your tiler to confirm the quantity before you order, and keep a few spare tiles for repairs.
A setting-out example shows why the joint matters. A wall 2.4m high built from 600mm tiles takes four courses, but four tiles and three 3mm joints add up to 2,409mm, so the stack ends 9mm over. Plan the joint, or the height of the first course, so the last course is cut or closes to the ceiling line.
The same applies across the wall. A wall 3.0m wide built from 300mm tiles needs ten tiles and nine 3mm joints, which is 3,027mm, so the row runs 27mm over. Dry lay the first row and adjust the starting line until the cuts at both ends are even.
Mark a plumb line before you start, because a stack repeats any drift in every row above it.
Start with the wall. For a shower or a low-ceilinged room, a vertical stack of a rectangular tile lifts the wall. For a wide splashback, a horizontal stack widens it. For a floor, choose a tile whose Application line says Floors and carries a wear line of 3 or more, and check the slip rating.
Then choose the grout: close to the tile for a quiet wall, contrasting for a grid. Order a sample, lay a few tiles dry, and look at the wall in the room's own light. The tiles collection covers every shape and finish in the store.


