
*View accurate shipping rates and availability






7 Items




Up to 70% off across the store, plus free towels and mirrors up for grabs on orders over $800*
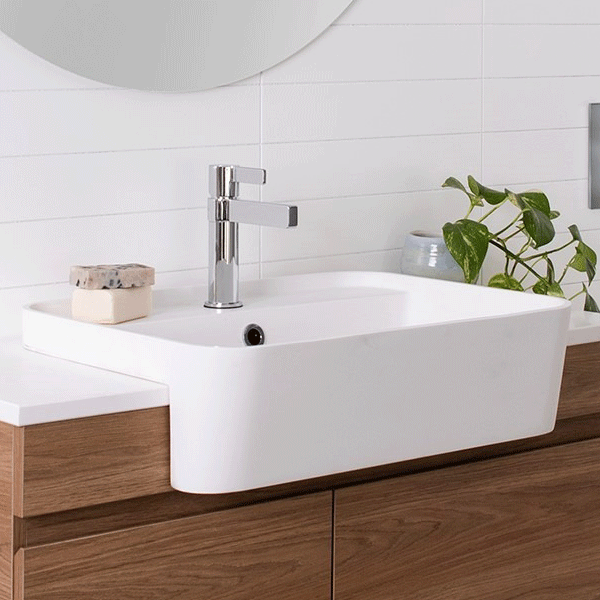
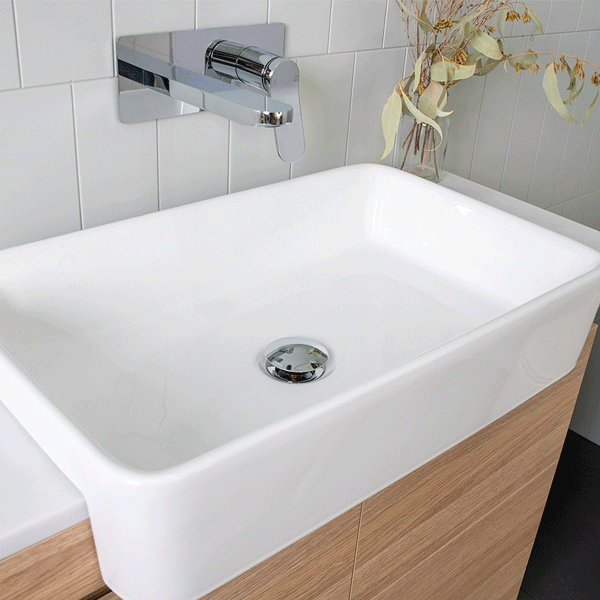
A semi-recessed basin sits partly into the benchtop, with the front of the bowl projecting past the front of the cabinet. The result is a full-size basin on a shallower vanity, which is why the type suits small bathrooms and ensuites. This page holds the semi-recessed basins from Caroma, ADP and Clark, and the guide below covers what the type means, what it gives up, how the tap and the waste work, and how to match one to a vanity.
A semi-recessed basin is installed partly into the counter, with part of it protruding past the front of the benchtop. It is a hybrid between a fully inset bowl and one that sits on top, giving the bowl room without taking as much drawer space. The basin sits over the edge of the vanity bench. In practice the cabinet is slimmer than the bowl, and the bowl keeps its full size instead of being sized down to fit the cabinet.
Two names are used for this arrangement. This page uses semi-recessed, and semi-inset is the same arrangement under another name. Because the names are not used the same way everywhere, check what matters, which is whether the bowl projects past the front of the cabinet. A basin that sits fully within the bench line is an inset basin.
The type has three clear advantages. The first is a relatively large basin on a smaller counter. The second is a shallower cabinet: a semi-recessed basin allows a much shallower cabinet, possibly around 300mm deep depending on the basin, and slimline semi-recessed cabinets start from about 320mm deep, with overall depths of about 445mm to 495mm once the basin is included. The third is access. The tap sits closer to the user, so it is easier to reach for young children and people with limited mobility, and the Caroma Urbane II basin is easily accessible by children or older people.
Two trade-offs come with the projecting front. Storage under the basin is limited, because a shallow cabinet holds less. And there is no benchtop at the front to catch water, so splashes and spills reach the floor more easily, especially with children. Both come from the same feature, so they are a decision to make, not a fault to fix. If the room needs storage more than floor space, a small vanity with an inset or above counter basin is a fair alternative.
The Caroma Urbane II semi-recessed basin is a 500mm basin in gloss white fine fire clay with a thin rim and a smooth, stain resistant surface. It includes an integrated ceramic pop-up plug and waste that sits flush with the basin when open, with optional waste finishes in chrome, matte black, PVD brushed nickel, PVD brushed brass and PVD gunmetal.
The Caroma Luna semi-recessed basin has soft curves and comes with no tap hole or one tap hole. A second Luna version has no tap landing and suits wall taps or taps on the counter top. Both include a white plug and a chrome flush fitting waste.
The ADP Miya is 550mm long and 390mm wide, with a curved edge that is easier to clean, one tap hole for a mixer and a gloss white or matte white finish. The ADP Lino is 595mm long, 380mm wide and 130mm high, holds 14 litres and comes in gloss white. Both list the plug and waste as sold separately, so you choose one to match the tapware.
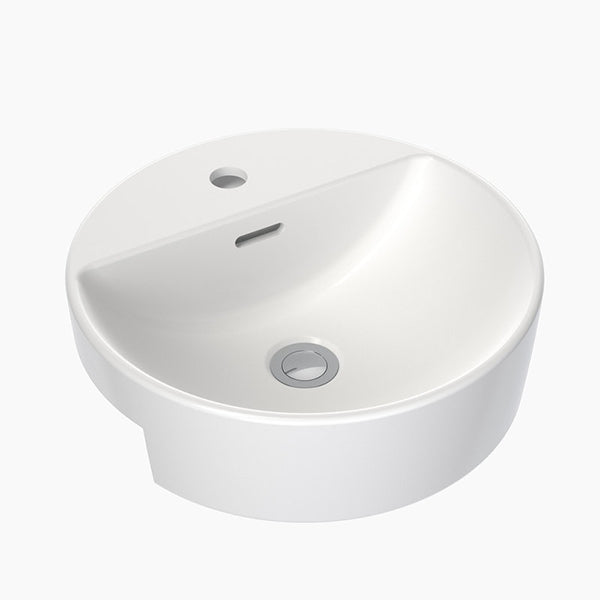
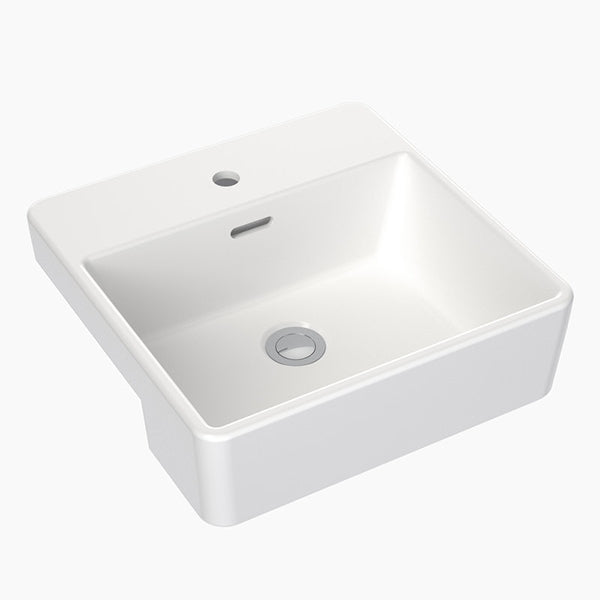
The Clark square and round basins are ceramic with an integrated overflow. The square basin holds 5.7 litres to the overflow and comes with one or three tap holes, and the 400mm round basin holds 3.4 litres to the overflow. Both include a chrome pop-up plug and waste. See Caroma basins, ADP basins and Clark basins for the full ranges.
Semi-recessed basins work with wall mounted taps, deck mounted single mixers and traditional tap sets, depending on the basin, and low-profile taps keep the clean lines of the bench. The tap hole count of the basin decides which one fits. A basin with one tap hole takes a basin mixer on the bowl, a basin with three takes a three-piece set, and a basin with none takes a mixer fixed to the bench or a wall mounted spout. Choose the tapware before the bench is cut, because the position of the tap hole or the wall outlet cannot move afterwards. See basin mixers, bathroom basin taps and basin wastes.
Square basins pair with contemporary schemes and round basins with more traditional ones, and the Clark range here includes both. Choose the finish of the basin and the tapware together, matching or deliberately contrasting the other fixtures in the room, so the bathroom reads as one decision and not several.
The semi-recessed fixing is different from an inset or an under counter basin, and it is the same across the Caroma and Clark sheets. Two D.250 brackets with tie hooks are supplied. The brackets are fixed to the underside of the counter top, and the tie hooks anchor the back of the basin to the counter. The basin is sealed to the top and front section of the counter with acetic cured silicone sealant, and epoxy type glues must not be used. The basin is supplied with a template, and the template must be used for the cut-out.
The Clark installation sheets set out eight steps. Fold the template over the countertop and the apron. Attach the cut-out guide to the countertop with adhesive tape or transfer the cut-out line, and cut out the countertop with care. Fit the taps and the waste to the basin. Apply a layer of acetic cured silicone around the sealing rim and the apron. Align and secure the brackets to the underside of the countertop at the corner positions shown. Attach the tie hooks to the holes in the basin and lower it into the opening, secure it from underneath, then connect the waste to the trap and plumb the taps. Installation must be in accordance with AS/NZS 3500.2.
For a granite or marble top, fix two 20mm thick wooden blocks in the bracket position on the underside with fast setting two part epoxy. When fully set, screw the brackets onto the blocks, or use another suitable fastening system. The epoxy is for the blocks and not for the basin, because epoxy must never go on the basin itself. Ask the stone fabricator to fit the blocks when the top is made, so the brackets have something solid to fix to and the stone is not drilled on site.
The Luna is designed for the Caroma chrome flush fitting waste, which is supplied and suits a 40mm trap connection. Alternative wastes include a vandal resistant flush fitting waste, a covered plug and waste, and a chrome pop-up plug and waste. The Urbane II has an integrated waste with a white ceramic pop-up cap and optional brass caps in five finishes. Because the Luna with a tap landing has an overflow only, it needs the matching waste, and the Luna without a landing has none. Clark basins include a chrome pop-up plug and waste. See basin wastes.
A space is cut in the counter to the basin's exact dimensions, as for an inset or undermount basin, so the cut-out is set by the basin you choose and the benchtop is made to suit it. The fitting details that apply to any ceramic basin apply here too: a thin foam washer goes under the waste neck and is sealed with neutral cure silicone, and the waste is tightened by hand only, because over-tightening stresses the basin. Seal the edge where a top meets the wall or cabinet with neutral cure silicone, keep furniture at least 300mm from wet areas and use a licensed plumber for the water connections.
If the vanity is wall hung, wall hung furniture and basins need fixing to a support beam fitted between the studs, with support noggins added before the wall is sheeted. The wall should be plumb and the floor level, and a bowed wall can twist a cabinet when it is fixed. Leave about 700mm to 750mm clear in front of the basin so the room stays comfortable to use. See wall hung vanities, slimline vanities and ensuite vanities for cabinets that suit a shallow basin.
Wipe a ceramic basin with a soft cloth and a weak non-abrasive detergent, and dry any spills. A scratch in glazed ceramic cannot be repaired, so avoid abrasive cleaners. Because the front of a semi-recessed basin has no bench ledge, wiping the floor and the cabinet front after use matters more than it does with an inset basin. A quick wipe of the projecting front each day keeps the lower edge, where drips collect, free of residue.
For the wider picture, the bathroom basins page sets semi-recessed basins beside the other types, and undermount basins and assisted living basins cover two uses that overlap with this one. For the cabinet that carries the basin, see bathroom vanities.


