
*View accurate shipping rates and availability






33 Items


Up to 70% off across the store, plus free towels and mirrors up for grabs on orders over $800*


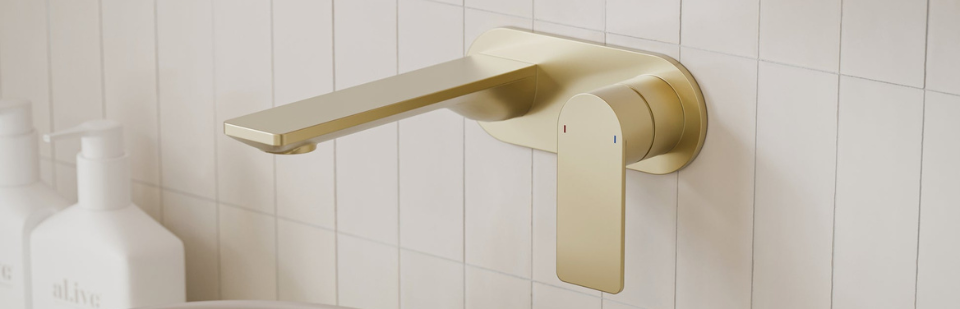


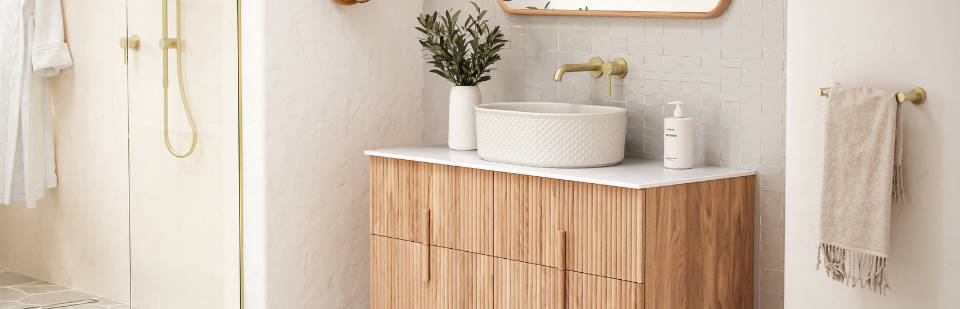


A square basin has right angles and flat sides, and it is the shape that matches a straight-edged vanity. This page holds square basins from Caroma, Clark, ADP, Eight Quarters, Otti and Timberline, in above counter, inset, wall hung, under counter and semi-recessed forms, mostly in ceramic. The guide below covers what the shape suits, the sizes, how to mount and tap it, and the overflow and waste to check. For the difference between a basin and a sink, the bathroom basins page answers it.
Square and rectangular basins have strong, clean lines for minimalist or industrial rooms, and they contrast well with timber vanities and stone benchtops. A square basin has a right-angled profile and flat surfaces. The cost of the corners is cleaning: rectangular corners and flat edges need more attention than an oval's, so wipe the corners and the base of the bowl. If the vanity is rounded, round and oval basins follow its lines, and rectangular basins give the same angles with more length.
Two working sizes cover most rooms: a compact 350mm by 350mm for a powder room or a narrow vanity, and a deeper 450mm by 450mm for a family bathroom. The range fits that spread. The Clark Square inset basin comes in 350mm and 400mm and holds 4.7 litres to the overflow at 350mm. The ADP Love is 360mm by 360mm with a 7.5 litre bowl, the ADP Jill is 420mm by 420mm with a 5 litre bowl, and the ADP Charlotte under counter basin is 425mm by 425mm and holds 4 litres to the overflow. The ADP Louie is 450mm by 380mm with a 10 litre bowl. The Eight Quarters Amaroo Square is 365mm and the Regency Square is 390mm, the Timberline Arcade inset basin is 400mm by 400mm, and the Caroma Tribute square inset basin comes in 400mm and 420mm. The Otti Hudson fluted square is 520mm by 320mm. For the smallest sizes, see small hand basins.
There are three ways to mount a square basin: above counter, sitting fully on top of the vanity; semi-inset, partly sunk into a stone or timber benchtop; and undermount, with a hidden flange so the benchtop runs unbroken and wipes down easily. The above counter basins page covers the first, the inset basins page covers inset and semi-inset squares, and undermount basins covers the third. The Clark Square and Caroma Carboni II are also wall hung squares. The Clark wall basins come in 400mm and 600mm shelf versions with a fixing kit. Wall hung basins need fixing to a support beam fitted between the studs, with noggins added before the wall is sheeted. See wall hung basins and semi-recessed basins.
A wall mounted mixer with the spout centred over a square basin looks right and keeps the bench clear. Hob mounted mixers or three-piece sets need enough room on the vanity, and a basin sitting on the bench needs a taller mixer. The options differ by basin. The Clark Square comes with no tap hole, one tap hole or three, and the Clark inset has a tap landing in one and three tap hole versions. The ADP Jill has one tap hole, and most of the other square basins here have none. Check the tap hole count, then choose basin mixers or bathroom basin taps to suit.
The Clark Square basins have an integrated overflow and include a chrome pop-up plug and waste. The Caroma Tribute and Carboni include a white plug and a chrome flush fitting waste. ADP, Timberline and Otti basins are sold with the plug and waste separate, the Eight Quarters Regency takes a 32mm pop-up waste sold separately, and the ADP Charlotte has a slot overflow at the back with a universal plug and waste recommended. A ceramic basin's waste is tightened by hand only, with a foam washer sealed with neutral cure silicone. See basin wastes.
Most square basins here are ceramic in gloss or matte white, and the Eight Quarters Amaroo is available in matte finishes. Wipe ceramic with a soft cloth and a weak non-abrasive detergent and dry spills. For fluted squares, see fluted basins, and for arch and pill shapes see arch and pill shape basins.
Oval or round basins typically free up more space on either side, while square or wide rectangular basins can dominate the countertop. Round basins keep a tight vanity feeling open, while rectangular bowls use the same footprint more efficiently and give more washing area. Rectangular basins can also sit closer to the wall or into a corner to keep counter space usable. Round basins have no hard corners, so they feel lighter on a shallow vanity, and rectangular basins suit floating and minimalist vanities. A square basin sits between the two: it has the corners and flat sides of a rectangle with a footprint closer to a round bowl's.
Proportion is the other point. A basin that is too large for the vanity makes a small bathroom feel crowded, and a wide basin on a narrow vanity can overwhelm it, while a basin that is too small looks lost on a large counter. The working figures are the vanity sizes: floor-mounted vanities run 600mm to 1800mm wide and 460mm to 550mm deep, with 460mm to 500mm common on narrower units, and powder room vanities 450mm to 600mm wide. A 400mm square basin fits inside those depths with room for the tap behind it.
The cost of a square bowl is cleaning. Rectangular corners and flat edges need more attention than an oval's, and that applies to a square. Wipe the corners and the base of the bowl, and dry the surface after use. Do not use steel wool or scourers, corrosive or abrasive cleaning agents containing acids or scouring agents, or bleach, which can discolour the product. A scratch in glazed ceramic cannot be repaired.
Matte finishes need care in a different way. For the Eight Quarters Amaroo Square in matte white, avoid abrasives and hard pressure, which can wear a matt finish. See matte white basins for the care on that finish.
A square wall-mounted basin asks for a four-step method, and it shows what a wall hung square asks of the wall. If the wall is timber framed, it must be reinforced with noggins to receive the fixing bolts, and enough height must be left for the tapware on the wall. Drill four holes for the dowels at the required height and fixing centres, secure the wall attachment element, mount the siphon and adaptor, lift the basin onto the adaptor and position it against the wall, then tighten the drain valve. The visible edges can be joint sealed with a flexible sealant, with any excess wiped off. A heavy square wall basin can weigh close to 20kg and hold 6.5 litres, which is a reminder that a wall basin is a load on the wall.
The Clark Square wall basins come with a fixing kit. Wall hung basins need a support beam between the studs with noggins added before the wall is sheeted. Decide the basin and its height before the wall is closed in. See wall hung basins.
The square inset and under counter basins need a cut-out, and the corners make that harder than for a round bowl. Cut the benchtop to the template supplied with the basin and fit the waste with silicone right around the rim. Then position the basin under the bench, mark the fixing clips, apply sealant to the rim and install the clips. Do not use epoxy glues, and on a stone bench use timber lining or blocks to take the clip screws. If a wall mixer is planned, consider the length of the outlet and the position of the basin in the bench, and if the mixer sits on the bench, allow enough bench width behind the bowl.
All dimensions are a guide only, so measure the physical basin before modifying any cabinetry. That matters most for a square, because a sharp-cornered cut-out leaves no room for error. Caroma names an acetic cured silicone sealant and rules out epoxy type glues for its ranges, and neutral cure silicone is the one to use on marble. Check the bench material before choosing a sealant, and follow the sheet in the box. See inset basins and undermount basins.
An above counter square adds its own height to the bench. Floor-mounted vanities run at 850mm to 900mm and wall-hung vanities at 800mm to 900mm, with a depth of 460mm to 550mm, and the rim is usually set at 800mm to 850mm. Accessible design puts the rim at 800mm to 830mm. A vessel bowl of 150mm to 180mm puts the rim at about 1,000mm or higher on a standard 850mm vanity, which is awkward for children. Take the basin height, add it to the bench height, and compare the total with the rim height you want. If the total is too high, lower the vanity or choose an inset or semi-recessed square.
Browse Caroma basins, Clark basins, ADP basins, Eight Quarters, Timberline basins and Otti basins for the full ranges. The Caroma Tribute and Caroma Artisan pages hold the square basins from those ranges.
For the cabinet that carries the bench, see bathroom vanities.


