
*View accurate shipping rates and availability






68 Items


Spend over $800 and receive free gifts in your cart. Towels, accessories and full length mirrors!

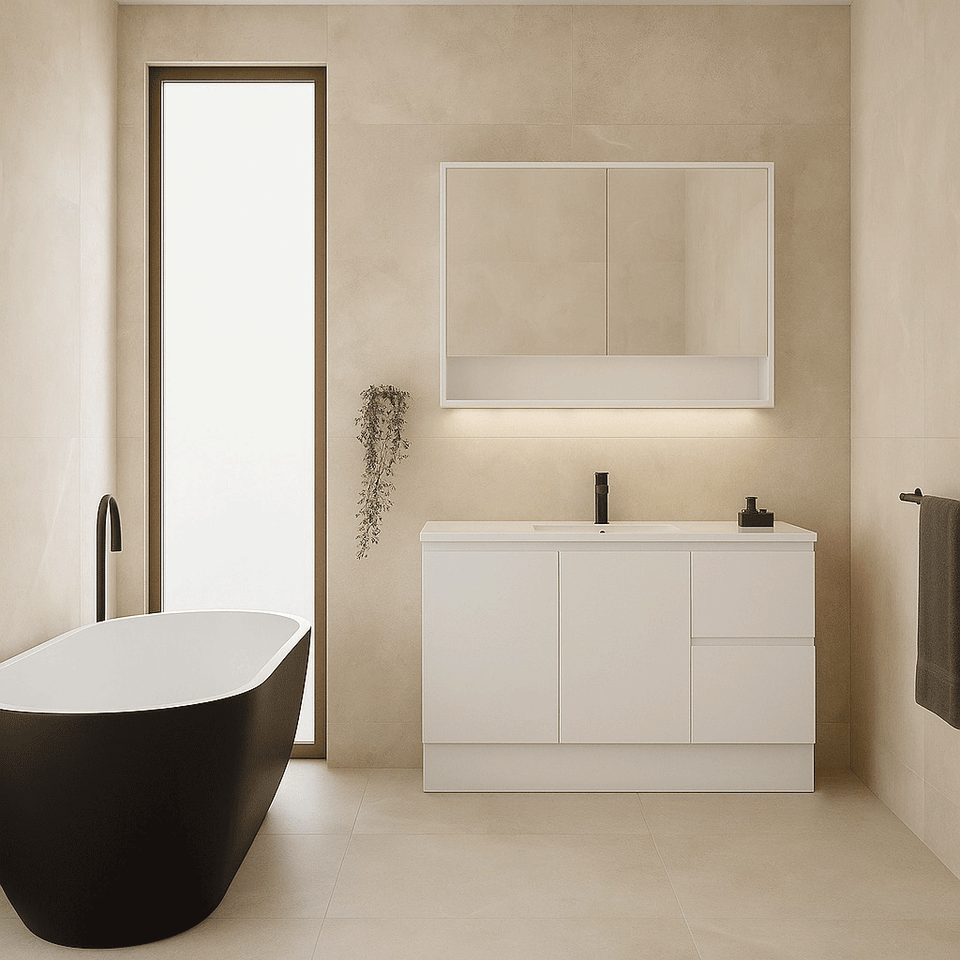
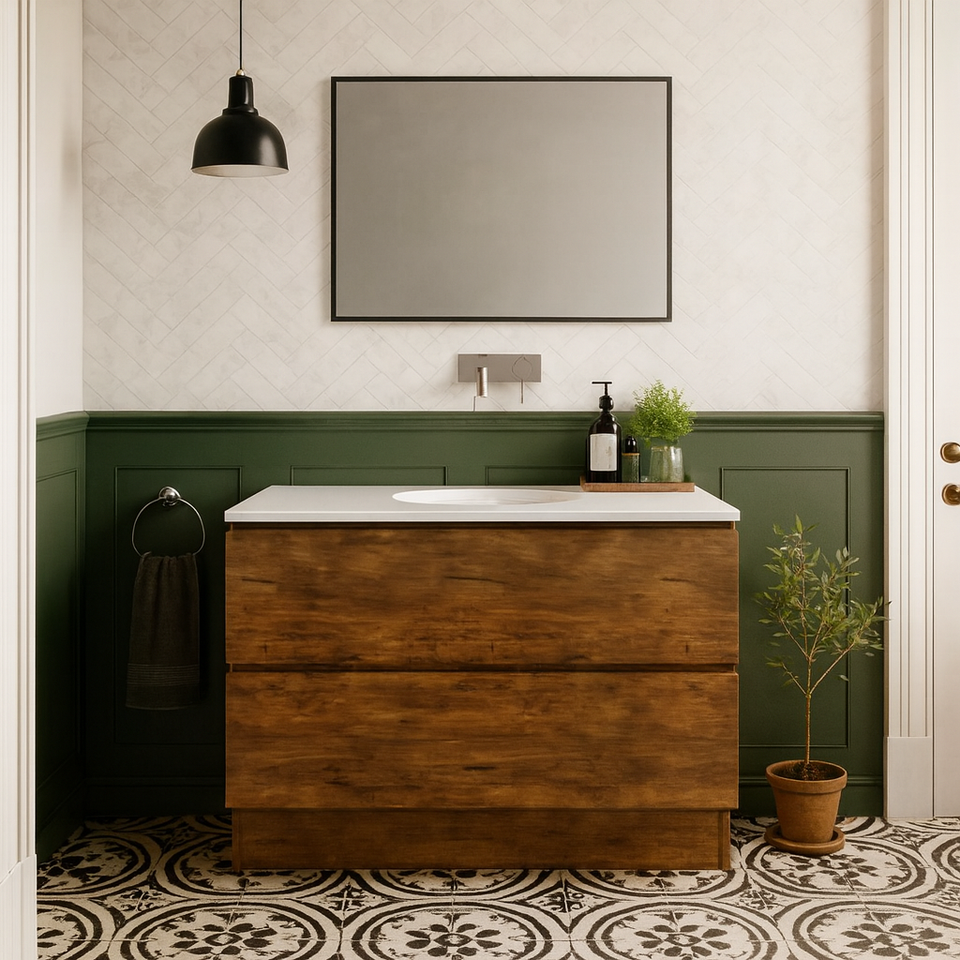


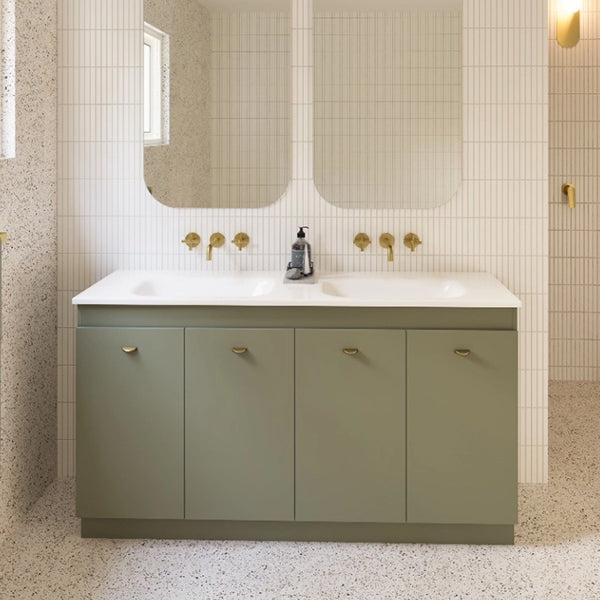
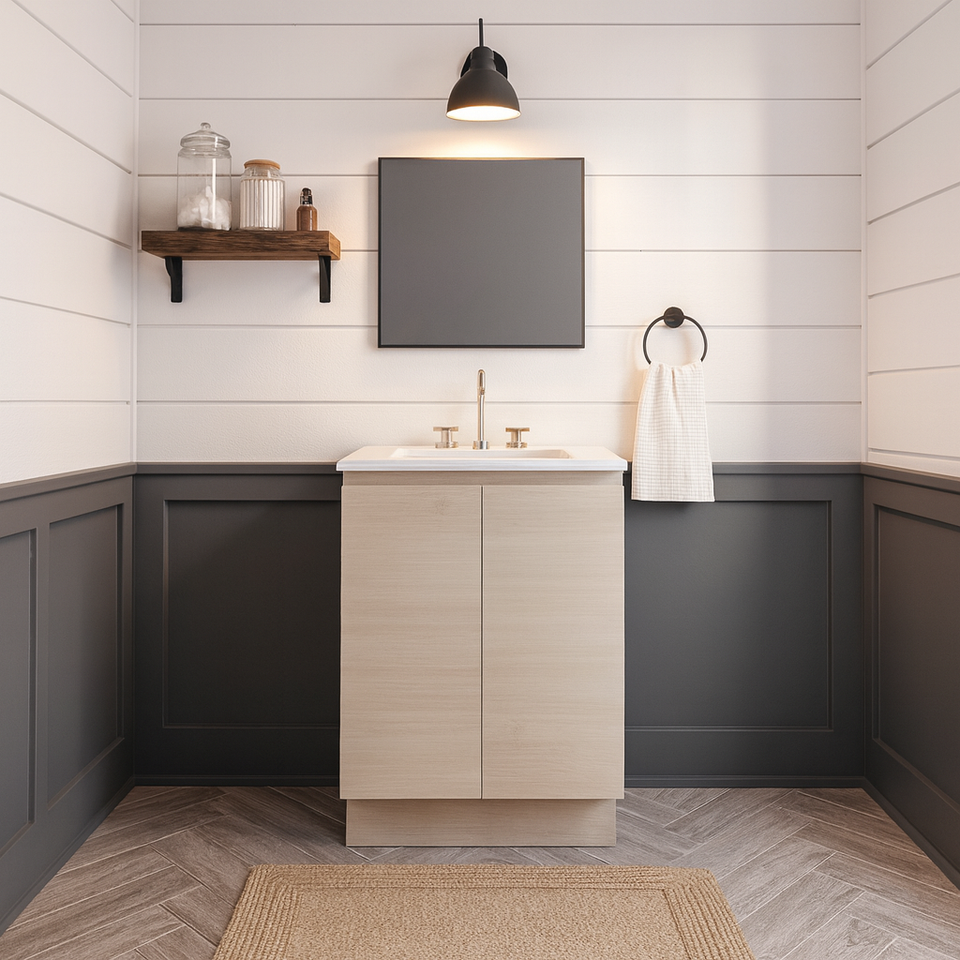


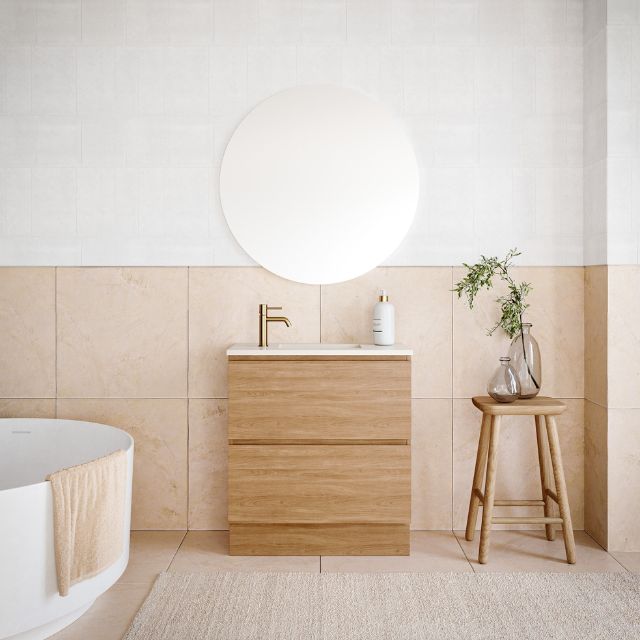

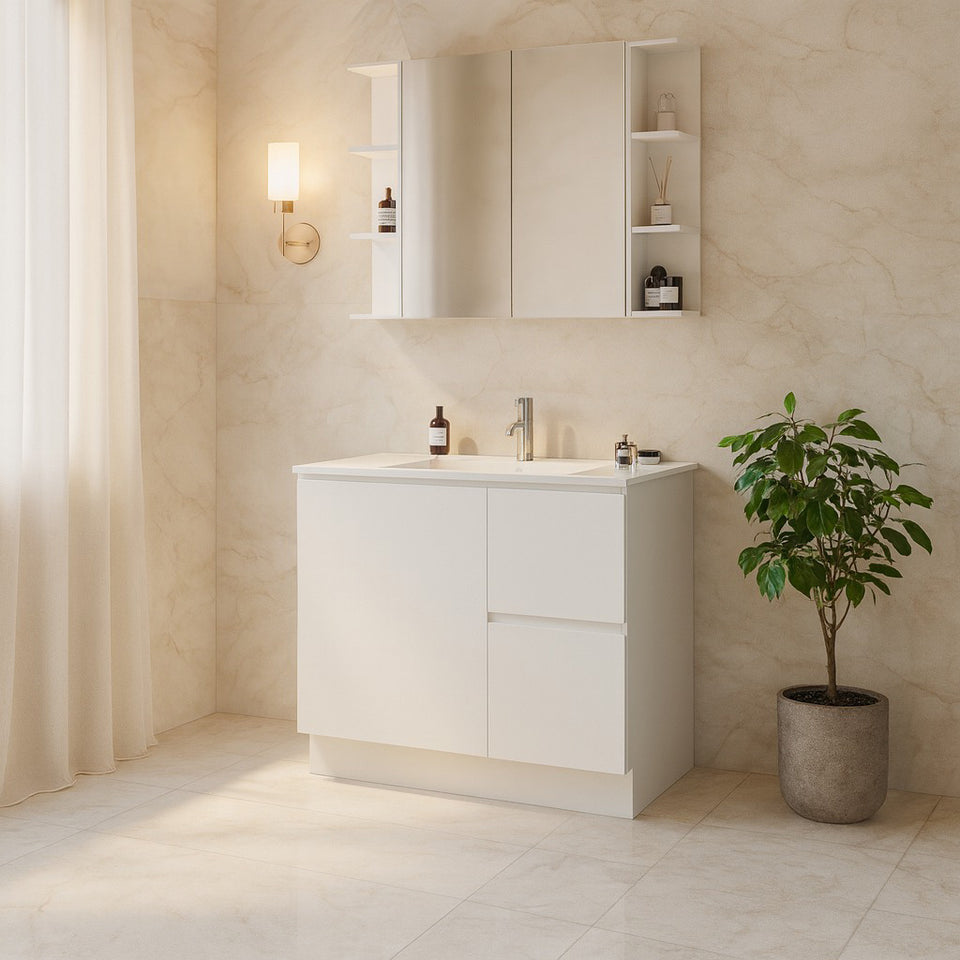


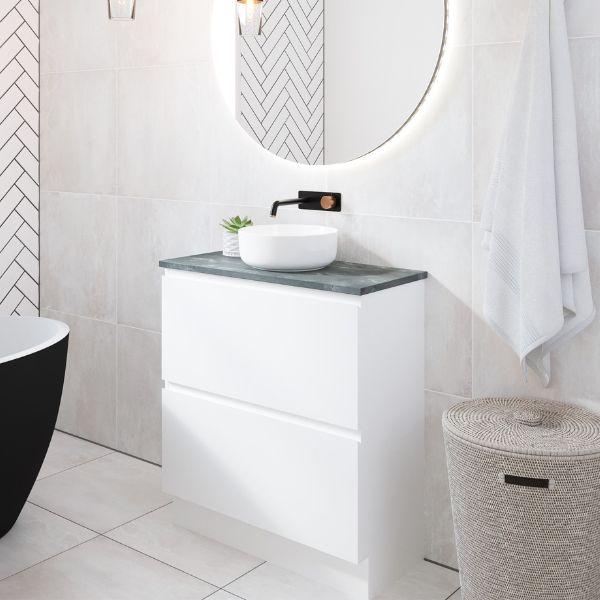


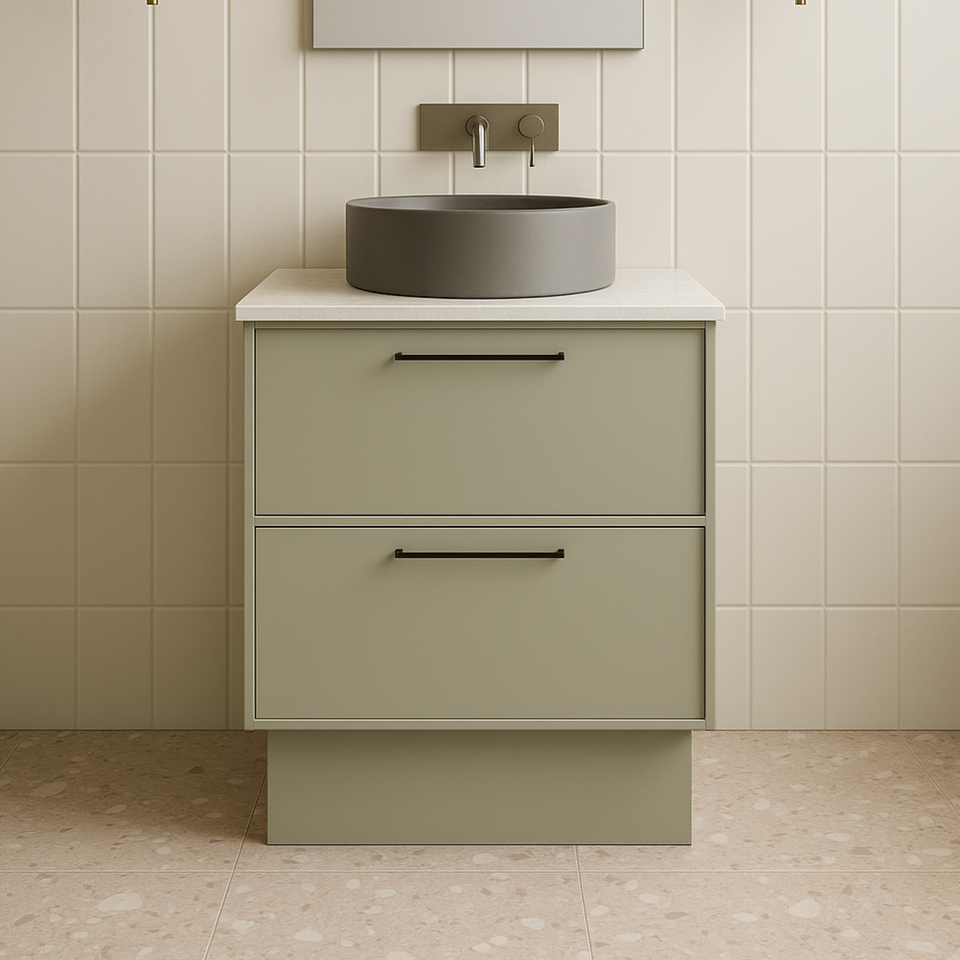
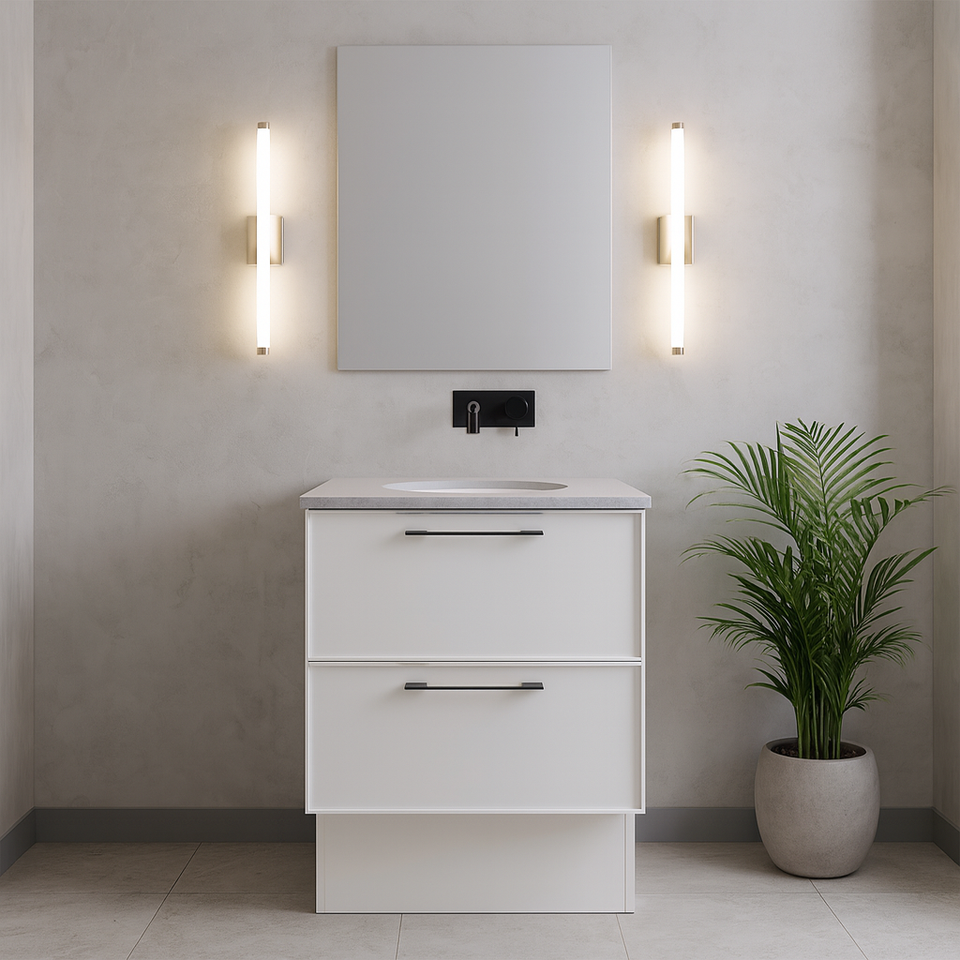

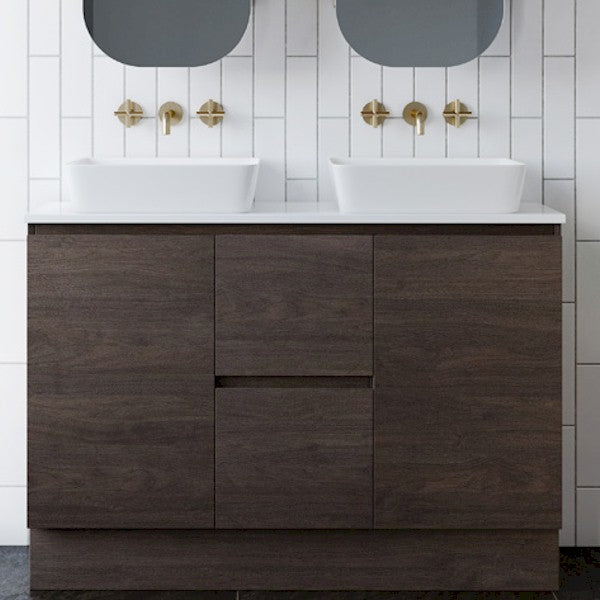

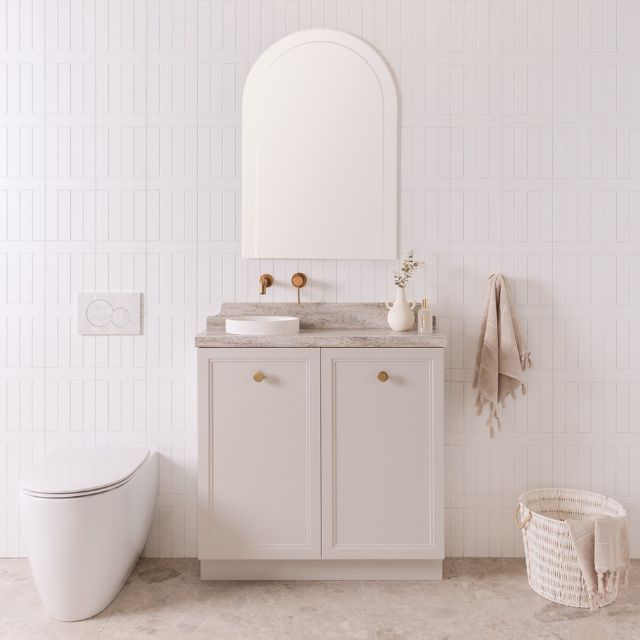

A freestanding vanity is a bathroom cabinet that stands on the floor, on legs or on a kickboard, instead of hanging from the wall. You will also see it called a floor standing, floor mounted, floor mount or free standing vanity, or simply a floor vanity or standing vanity. Retailers use "on kick" for the kickboard version. The widths here run from about 400mm to 2100mm, so size is rarely the hard part. The wall, the floor and the pipes decide what will fit, and this guide covers them in the order a plumber and a tiler will meet them.
It stands on the floor, so it takes its weight through the floor. Whether it is also fixed to the wall depends on the manufacturer, and the sources disagree. Some retailers describe freestanding vanities as needing no wall framing or noggins and say fixing to the wall is optional. A renovation guide notes that a freestanding vanity does not depend on the wall structure for support, and that anything fixed to a wall must go into studs or noggins, or into masonry anchors on brick or block, never only into plasterboard or tile adhesive.
The one manufacturer document for a floor mount vanity takes the strict view. The installation guide for the ADP Harper floor mount says in capitals that the vanity must be secured to the wall, with screws or bolts through the back of the cabinet at the top and the bottom. Horizontal fixings sit no more than 300mm apart, the bottom fixings start within 100mm of each end and no higher than 50mm from the base panel, and the cabinet attaches to at least two studs or support beams. Where no stud can be found, it calls for an appropriately sized hollow wall anchor, and every fixing must clear water and electrical services in the wall. Follow the sheet for the exact vanity you buy, because makers differ.
A vanity goes in late. The usual sequence is strip-out, rough-in plumbing and electrical, wall sheeting and wet area preparation, waterproofing and its cure, tiling and grout, fit-off plumbing, then the vanity with its benchtop and basin, and silicone last. Install it after waterproofing, tiling, grouting and painting are complete. That order is why the decisions below have to be made before the tiler arrives, not when the vanity does.
Before you fall for a style, find out where your water and waste come out. A freestanding cabinet can be fitted over wall pipes or floor pipes, because the installer measures the plumbing positions and cuts holes in the back panel, the base or both with a hole saw. A kickboard unit also hides pipes that come up through the floor, which a wall hung cabinet cannot do. The catch is that the cabinet interior has to leave room for the waste and supply fittings. Drawers notched around the waste hold less than their width suggests, and the installer should check the clearance behind the drawers.
Typical rough-in heights, measured from the finished floor, are about 450mm to 500mm for the waste and about 350mm for the water supply, with the top of the vanity at 850mm and 900mm an option for taller households. Confirm those figures with your tiler and plumber before they are locked in, because the thickness of the tile and adhesive changes the finished floor level, and 12mm to 15mm should be allowed for it. Keep cut-outs in the cabinet to the minimum, because a hole can be made bigger but not smaller, and ask the plumber to position the waste so that it does not block a drawer. If there is a power point near the basin, plan it before tiling, because the area around a basin is a restricted zone under the wiring rules. A licensed plumber must do the plumbing, and the vanity should be installed to its own instructions.
Measure the wall at the left, the centre and the right, at both floor and benchtop height, and treat the smallest measurement as the real width. Then check the wall is plumb and straight and the floor is level. Level the cabinet, not the floor: level it front to back first, then left to right across the front, using packers under the base on an older floor or the adjustable feet where the vanity has them. Do not force the cabinet to follow an out-of-level floor, and do not pull one side hard into a crooked wall, because that twists the carcase, makes drawers rub and can crack a benchtop at the joins. Small gaps can be closed with trim or silicone.
A vanity on legs lifts the cabinet off the floor, so tile shows underneath and the room reads a little bigger. Some legged units, such as the ADP Harper, have adjustable feet, and on the Harper the legs fit onto dowels and are fixed with screws. A kickboard closes the gap and gives a built-in look with storage down to the floor. On some ADP units a detachable kickboard locks on with cam fittings, and units of 1200mm and wider get a centre support panel in the kickboard.
The trade-off is cleaning. You can mop under legs but not under a closed kickboard, and the gap under legs collects dust. A freestanding unit also looks visually heavier than a wall hung one in a small room. What you get in return is storage: a floor standing cabinet gains roughly 200mm to 300mm of usable depth at the bottom of the unit. Choose legs for a lighter look in a smaller room and a kickboard for a heavier, furniture-like cabinet.
Size guides give a workable match between width and room. 600mm to 750mm suits a powder room, a tight ensuite or a small bathroom with one basin. 900mm to 1200mm suits most main bathrooms. A double basin suits a family or a couple, and 1500mm is where two basins start to work comfortably. A 1500mm vanity needs about 900mm of clear floor in front, and the door swing matters as much as the width, so check where an inward-opening door lands against the cabinet front.
Most freestanding products are standard depth, and some come in a compact depth, which leaves more floor clear in a narrow room, usually with a smaller basin and a little less storage. To browse by width, start with 400mm to 600mm, 750mm, 900mm, 1200mm, 1500mm, 1800mm and 2000mm to 2100mm. For tight spaces, small vanities is the better filter.
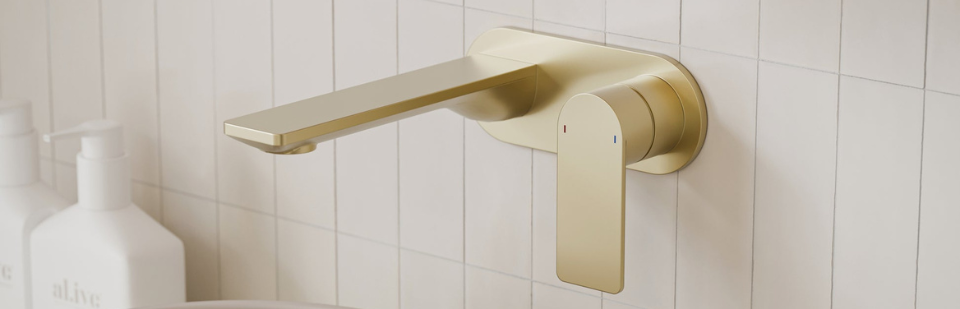
The basin changes how the vanity cleans and how tall it ends up. A top with the basin built in is the easiest to clean and suits ensuites and powder rooms. An undermount basin sits below the benchtop, so a chip in the basin is harder to repair than on a top-mounted basin. An above-counter basin adds height, which matters in a low-ceilinged bathroom, and it needs a longer tap spout. The bathroom basins page lists the shapes. Many freestanding vanities come with an integrated basin and others are sold with a separate top, so check each product page before you compare. The tap hole is set when the top is made, so choose the tapware first and match the hole count to it. Bathroom taps and mixers lists the mixers.
Layouts run from all drawers to doors and drawers combined to doors only. Drawers let you see everything at once and can be notched around the waste. Doors leave a taller open cavity, which suits bulky items. Whichever you choose, check that drawers and doors open fully without hitting the toilet, a shower screen or the bathroom door. Installers adjust the doors and drawers after fitting, because transport can knock them out of line.
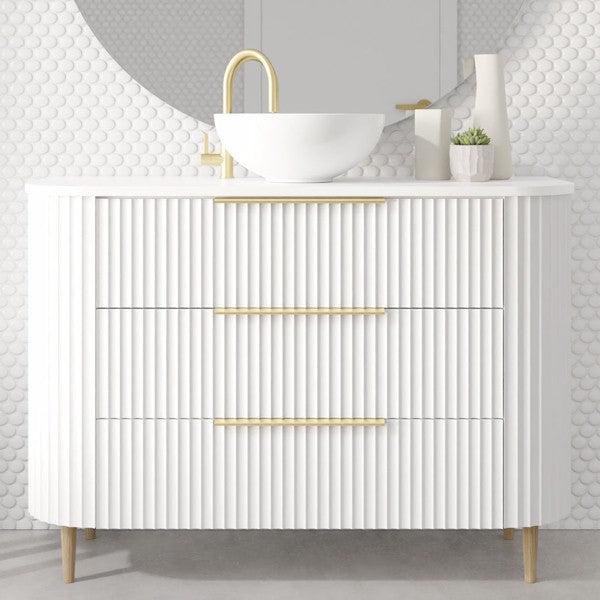
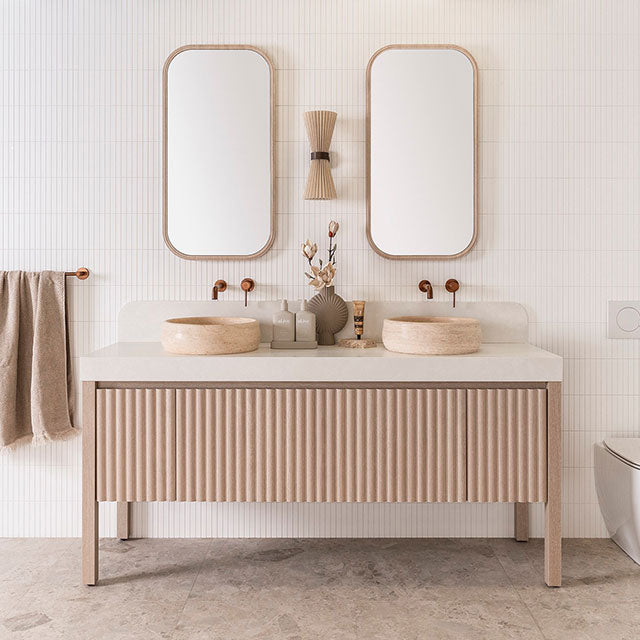
The range comes in white, black, grey and woodgrain, and many products come in more than one finish. Cabinets are usually moisture-resistant board, MDF or plywood, and moisture resistant is not waterproof, so wipe water off the cabinet face and ventilate the room. For natural timber, see solid timber vanities. For an easy match with other fittings, white bathroom vanities are the simplest place to begin. Hamptons vanities suit a classic scheme, fluted and curved vanities add texture and softer edges, and slimline vanities save floor space. Many freestanding vanities are Australian made. If no standard size fits an awkward space, look at custom vanities.
Seal every edge where the cabinet or top meets the wall or floor with neutral cure silicone, and keep the vanity at least 300mm from a bath or shower and out of shower spray. Silicone is not the waterproofing, which is done behind the tiles before the vanity goes in. Apply it along the back edge where the benchtop meets the tiled wall, seal the side edges if there is a visible gap, and give it 24 to 48 hours to cure. Then test the work. Run the tap and check every connection for leaks, fill the basin and release the plug to confirm it drains smoothly, look at the trap and waste for drips over several minutes, and open and close every drawer and door to check nothing rubs.
A wall hung vanity needs a support beam fitted between the studs and a waste that comes out through the wall, so it suits a renovation with the walls open. A freestanding vanity carries its weight on the floor and can cover floor pipes, which makes it the easier swap when the walls are finished or the home is a period property. Wall hung leaves the whole floor visible and is the stronger choice for a small bathroom. The bathroom vanity guide sets the two side by side, and wall hung vanities shows the alternative.
A mirror slightly narrower than the vanity, in about 50mm to 100mm from each side and hung about 100mm to 200mm above the bench or basin rim, looks balanced. Browse mirrors by width, and see ensuite vanities for a smaller footprint.
If you already know the range you want, the brand vanity collections are Timberline, ADP, Marquis, Turner Hastings and Ingrain.


